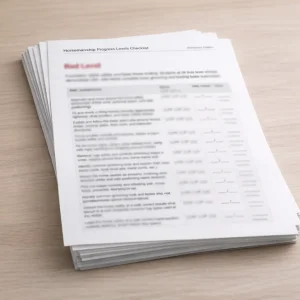
Running a modern riding school means balancing safety, structure, and steady progress—often across multiple instructors and lesson days. The Horsemanship Progress Levels Checklist (Instructor Edition) gives you a simple, professional way to track yard skills and horse handling so students develop the right habits in the right order. It helps keep expectations consistent, reduces risk, and makes progress easy to see at a glance.
Frequently Asked Questions (FAQs)
1) How do I use this during normal lessons?
Use it alongside your regular teaching—no special setup required. Keep the checklist on a clipboard, in a folder, or saved digitally, and simply mark progress as you teach the skill. It’s designed to fit naturally into everyday lessons, pony club/riding school routines, and yard sessions.
2) When should I mark a student as “Competent”?
Mark Competent when the student can perform the skill safely and consistently, not just once on a good day. A helpful rule: if they can do it correctly across different horses/conditions (within reason), follow your safety expectations, and require minimal prompting, they’re ready to be marked competent.
3) What do the status keys (NY, IP, C) mean?
-
NY = Not Yet (hasn’t learned it or isn’t ready to attempt)
-
IP = In Progress (learning, practising, improving—still needs guidance)
-
C = Competent (can complete safely and reliably to your standard)
4) How does this help with parent and student communication?
It gives you a clear, professional way to explain progress without guessing or relying on memory. Students can see exactly what they’re working toward next, and parents can understand how skills build over time—especially helpful when discussing readiness for independent tacking, handling responsibility, or advancing to higher-level tasks.